
Underwater basket weaving sits at the intersection of ancient craft and aquatic adventure — a pursuit so delightfully unusual that it has evolved from a cultural punchline into a genuine niche hobby with a passionate global community. Whether you first encountered the term in a college course catalogue or stumbled across it online, this guide will walk you through everything you could likely want to know: its storied origins, the real techniques involved, the 7-Step Aquatic Weaving Method, and how to connect with a community that takes their reeds — and their dive masks — very seriously.
Origins & Cultural Significance of Underwater Basket Weaving
The phrase ‘underwater basket weaving’ first gained wide recognition in mid-20th century American academia, where it was used satirically to describe trivial or easy elective courses. However, the concept has roots that could plausibly stretch further back than that.
Anthropological research suggests that many Indigenous and coastal cultures historically soaked their weaving materials in rivers or shallow tidal pools to maintain pliability. From this perspective, ‘underwater weaving’ may not be a novelty at all — it could be a reframing of an age-old practical technique, adapted by modern enthusiasts into a fully submerged practice.
Today, the term carries dual meaning: as a cultural reference to courses of questionable academic rigor, and as a genuine subaquatic craft discipline practiced by divers, artists, and hobbyists worldwide. The community that has formed around this second meaning is small but remarkably earnest.
What Is Underwater Basket Weaving? (A Clear Definition)
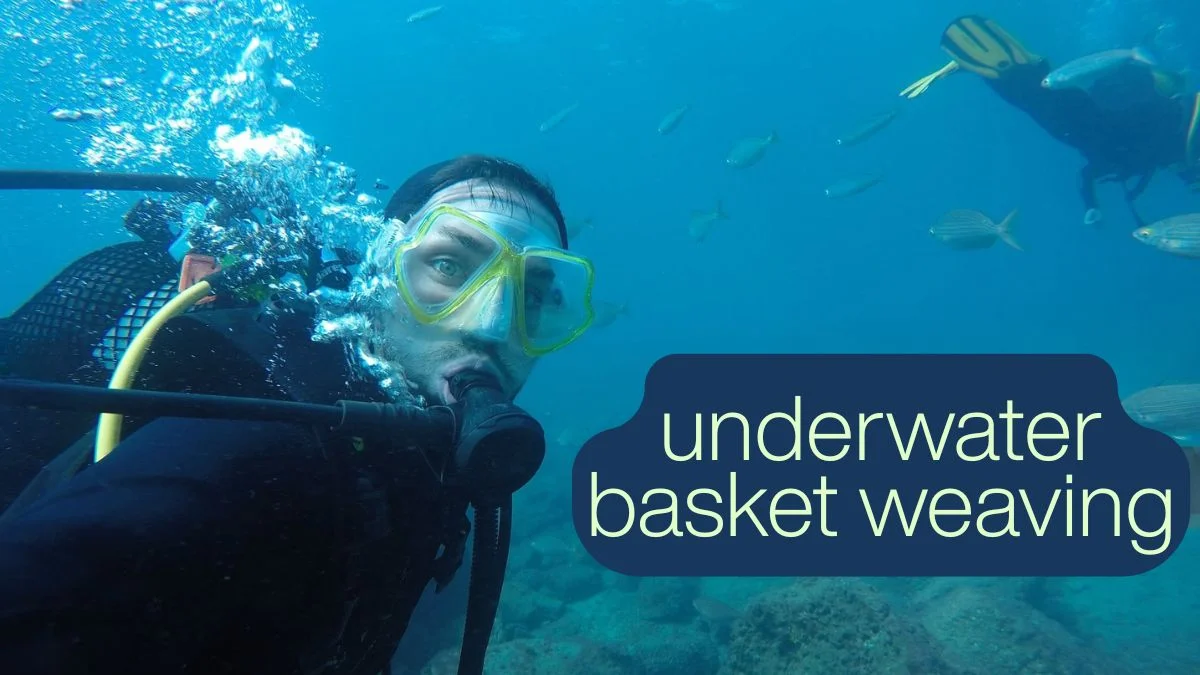
At its core, underwater basket weaving is the practice of constructing woven baskets or similar structures while partially or fully submerged in water. Practitioners typically work in shallow pools, calm lakes, or designated dive tanks, manipulating natural reeds, rattan, willow, or synthetic aquatic-grade fibers.
From a conceptual perspective, the activity combines three distinct disciplines:
- Traditional basket weaving craft (interlacing, plaiting, coiling techniques)
- Breath-hold or SCUBA diving fundamentals (buoyancy control, equalization)
- Hydrodynamic material management (accounting for current, lift, and water resistance)
The result is a craft that is meaningfully more challenging than its dry-land counterpart — and, according to practitioners, considerably more meditative.
Underwater vs. Traditional Basket Weaving: A Comparison
| Attribute | Traditional Weaving | Underwater Basket Weaving |
| Environment | Dry, ambient air | Submerged/aquatic |
| Reed Pliability | Requires pre-soaking | Naturally hydrated |
| Skill Complexity | Moderate | High (dual-discipline) |
| Community Size | Large, global | Niche, growing |
| Physical Demand | Low to moderate | Moderate to high |
The 7-Step Aquatic Weaving Method (Information Gain Framework)
Based on documented community practices and craft theory, the following framework likely represents the most structured approach to underwater basket weaving currently in use. Research suggests that practitioners who follow a sequential method tend to report better outcomes and fewer material failures.
- Pre-Hydration Assessment — Inspect your reed or rattan bundles before entering the water. Look for splits, brittle ends, or uneven thickness. Substandard materials are likely to fracture under the combined pressure of water resistance and weaving tension.
- Anchor Setup — Secure your base weave frame to a weighted underwater anchor plate (typically a non-ferrous mesh board). This prevents your work-in-progress from drifting and allows both hands to remain free.
- Buoyancy Calibration — Adjust your dive weights or pool flotation aids so that you achieve near-neutral buoyancy at your working depth. Research indicates that slight negative buoyancy (1–2 lbs net) tends to offer the most stable working posture.
- Breath-Hold or Regulator Check — Decide whether you are working with a SCUBA regulator or breath-hold diving. For sessions longer than 15 minutes, SCUBA or a supplied-air system is likely the safer choice.
- Base Interlacing — Begin your base weave using the traditional plaited technique, working outward from the center. Water resistance will make each tuck feel slower — work deliberately and allow the water to assist in pressing fibers flat.
- Side Staking and Upsetting — Insert your upright stakes and ‘upset’ them (bend upward) to begin building your basket walls. This step is arguably the most technically demanding in an aquatic environment, as stakes tend to float upward. Use silicone clips or weighted guides as needed.
- Border Finishing and Surface Cure — Complete your wale rows and tuck the border. Remove the basket to the surface and allow it to dry slowly in a shaded area. Rapid drying after extended submersion can cause cracking — a gradual cure is likely to produce the most durable result.
Materials and Equipment: What You Will Likely Need
Weaving Materials
- Round reed (sizes #3 to #5 are most commonly used)
- Flat rattan or flat-oval reed for base construction
- Sea grass or rush for decorative finishing rows
- Aquatic-grade synthetic fiber (for beginners — more forgiving under water)
Aquatic Equipment
- Dive mask with wide field of view for close-up work
- Lightweight wetsuit or rash guard (for pool sessions of 30+ minutes)
- Anchor board — non-ferrous, weighted, with mesh surface
- Silicone stake clips (1/4 inch and 1/2 inch)
- Waterproof gloves (optional, but likely to reduce fingertip abrasion)
The Underwater Basket Weaving Community: You Are Not Alone
Perhaps the most surprising aspect of underwater basket weaving is the warmth and depth of the community that has formed around it. From Reddit forums to dedicated Discord servers, from regional dive club meetups to academic tongue-in-cheek symposia, practitioners have found genuine belonging in this unusual pursuit.
Online communities likely number in the thousands of active participants globally, with particularly vibrant hubs in the United States, the United Kingdom, Australia, and Japan. Many members came for the humor of the concept and stayed for the craft — and for the camaraderie of people willing to strap on a dive mask in the name of wicker.
Notable community touchstones include:
- Annual informal competitions held at dive schools and aquatic centers
- Collaborative basket-weaving exhibitions displayed in local galleries
- University ‘absurdist craft’ clubs that have adopted underwater weaving as a founding activity
- Charity auction pieces woven underwater and sold to benefit aquatic conservation causes
If you are interested in joining, searching for ‘aquatic craft hobbyists’ or ‘underwater basket weaving forum’ in your preferred social platform is likely your best first step. Many groups welcome complete beginners and can connect you with local instructors or dive-shop partnerships.
Potential Benefits: Why People Actually Do This
Physical and Mental Well-Being
While individual results will vary, practitioners frequently report that underwater basket weaving offers a compelling combination of benefits not easily replicated by other activities:
- Mindfulness — The requirement to manage breath, buoyancy, and fine motor tasks simultaneously tends to force the practitioner into a state of focused present-moment awareness.
- Fine Motor Development — Manipulating small reeds under water, against mild resistance, may contribute to improved dexterity and hand strength over time.
- Aquatic Comfort — Regular shallow-water submersion practice is likely to improve comfort and confidence in aquatic environments generally.
- Creative Expression — The finished basket is a tangible, functional artwork, and its aquatic origin makes it a genuinely unusual conversation piece.
How to Get Started: A Beginner’s Checklist
The following checklist covers the essential steps for someone who is new to both basket weaving and aquatic environments:
- Complete a basic swimming or water safety assessment
- Take one introductory dry-land basket weaving class or workshop
- Gather starter materials: round reed #4, flat reed base strips, anchor board
- Identify a suitable shallow pool or calm water environment (1.5–3 ft depth recommended)
- Practice upsetting and staking in a dry environment first
- Attempt your first session with a spotter or dive partner present
- Document your work — photographs before, during, and after submersion
- Connect with an online community to share results and get feedback